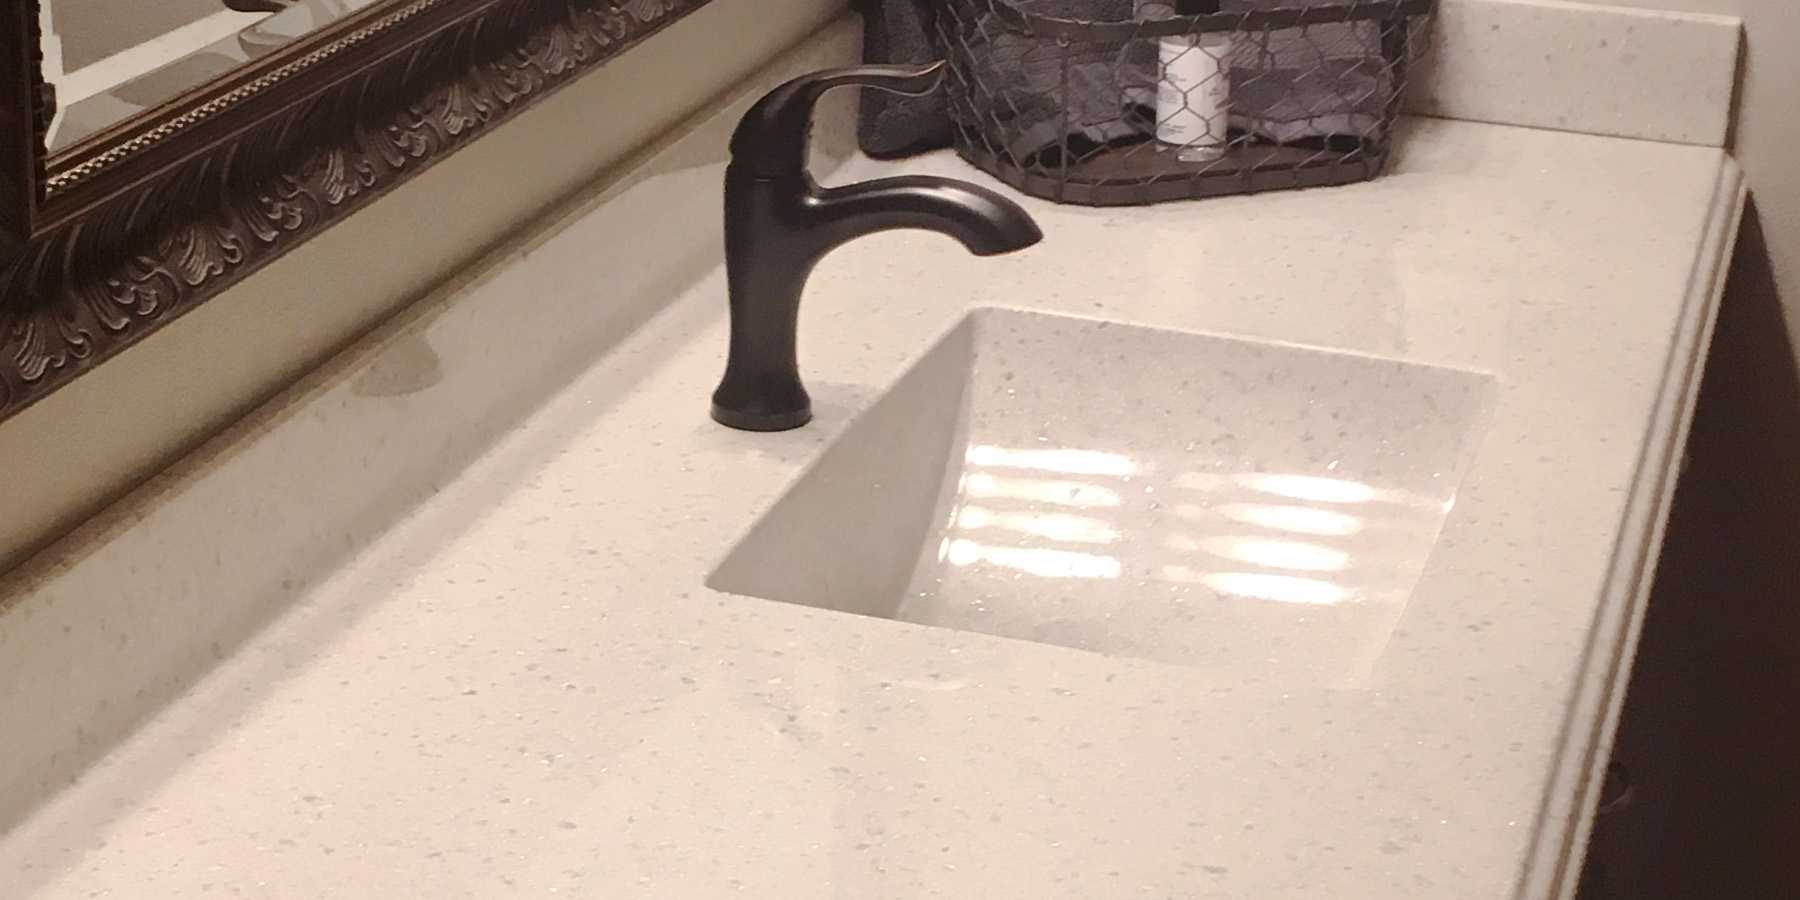
How To Install Vanity Sink Tops
Vanity sink tops from SFI can be installed in 5 easy steps.
Step 1: Sizing
Trial fit vanity top to cabinet and walls. If necessary, trim vanity top using a circular saw with a masonry blade.
- Start cutting at the backsplash and move toward the front of the vanity top.
- Place the trimmed edge to the wall.
- It may be necessary to level vanity top with shims beneath cast-in edge of the underside of the vanity.
Step 2: Faucet Holes
- It may be necessary to drill for faucet holes using a 1-1/4″ diameter hole saw bit.
- A template with the standard hole patterns for 4 & 8 inch centers is included.
- Placing the template on the top in the desired location, drill a pilot hole for each of the faucet holes.
- Using a 1-1/4″ hole saw bit, drill the holes for the faucet assembly.
DO NOT USE AUGER BITS, AS THESE TYPES OF BITS WILL DAMAGE THE VANITY.
Step 3: Installing the Drain
Use a high quality silicone caulk under the drain collar. The excess should be squeezed out around the entire collar when the assembly is tightened.
It is important that you do not over tighten the drain. DO NOT EXCEED ONE TURN PAST HAND TIGHT.
Step 4: Installing the Vanity Top on the Cabinet
- Before mounting the vanity top on the cabinet, install faucets and drain assembly following manufacturer’s instructions.
- Apply a generous bead of liquid nails or similar adhesive along the top edges of the cabinet.
- Carefully place vanity top onto cabinet ensuring that any necessary shims are in place.
- If side splashes are to be installed, do it now. Trial fit the side splash and then apply thin beads of silicone to bottom edge and the backside of splash and set splash into place.
Step 5: Caulking
- Clean entire vanity top with a mild household cleaner.
- Apply thin bead of silicone caulking along the top edges of the backsplash and side splashes to fill any gaps.
- Remove excess caulking with denatured alcohol.

